sreda, 15. december 2010

The suppliers

I get some questions on where did I source all the materials, so here is the list:


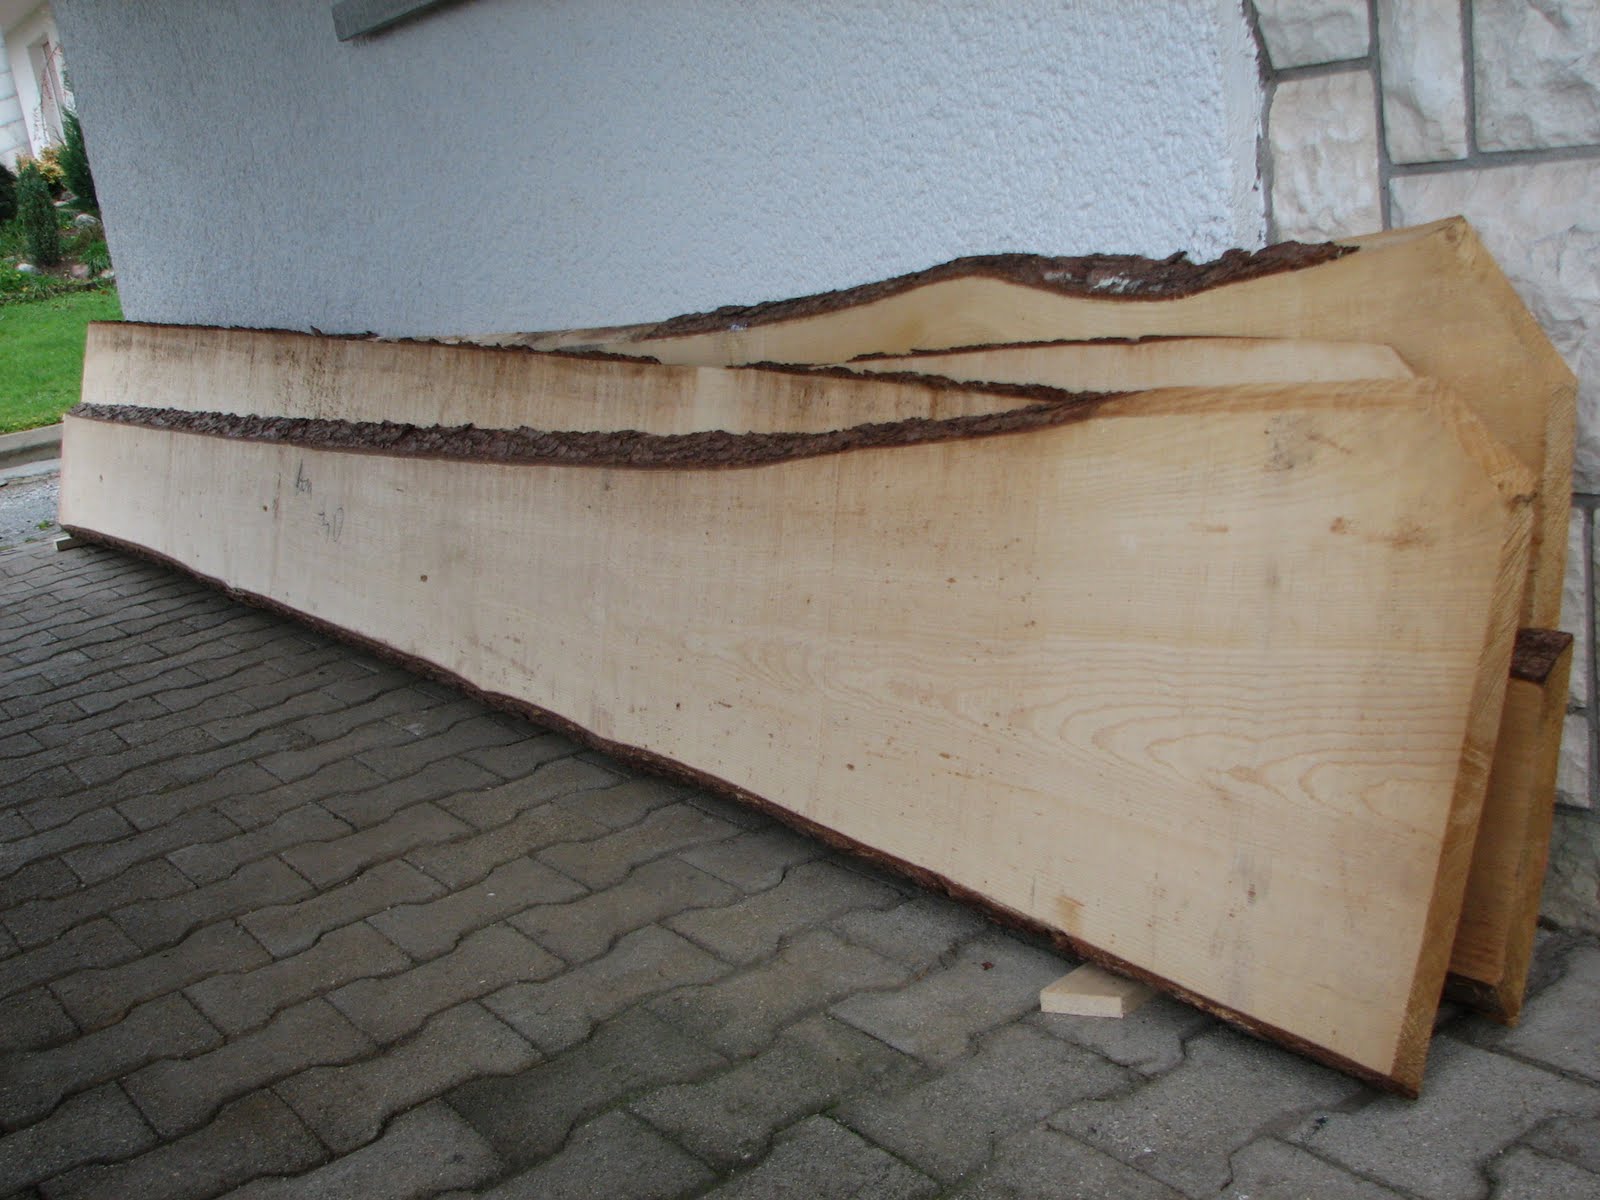
-Lescom d.o.o. : there I bought all the wood used in the build (mahogany and sitka spruce). They were very kind and helpful, the guys in the warehouse were helpfull in selecting the right boards, altough they do reserve the right to charge extra 20% if you pick your boards one by one, but I think that has to do with the fact that they have a lot of work, and it would take too much time if everybody would be too picky. But I demanded 1st class wood, and they delivered. From the 5 boards I looked at, I took 4 and only rejected one, so overall I can recomend them, and they also have good selection of various woods in various qualities, and a huge stock.
-Mirnik TG d.o.o. : This company offers complete solutions for all epoxy & fiberglass work. They offer everything from foam core to vaccum infusion solutions, carbon, aramide & glass fabric, and all the little things that you need. They were also very helpfull and answered all my questions, and I was also able to buy small fabric samples to try them. Another company that was recomended is www.nicro.si, but they only sell epoxy, no fabric. I also contacted Garbas CO d.o.o., but they specialize in bigger costumers, so they were not helpfull when I mentioned that I would not buy a whole bale of fabric. So I was most satisfied with Mirnik d.o.o., as they have everything on stock, catter to small costumers, and help you find the best solution for your needs. And their prices are competitive, and they offer all the materials from the cheapest to top of the line, so something for everybody.
-Mitol d.o.o. : glues for everything, I used their glue for wood and it works great.

outer stem shaping


This is the task that is nice to do in the pauses when sanding and planning hull as it gets pretty boring, so I started shaping the stems with a grinder, a spokshave and sanding paper. The progress is slow, as it takes a lot of sanding and planing to get to the desired resoults, so I take it step by step and do some experiments with epoxy and glassfabric inbetween, to keep the fun in the project.

ponedeljek, 13. december 2010

Installing the outside stems


The outside stems were laminated from strips of ash wood before the strongback was even set, and now it was time to install them permanently on the canoe. For the bond I have used epoxy glue mixed with fine sawdust, and screws & clamps to hold the stem in place until the epoxy hardens. The screw holes will later be filled with wood, machined to fit in the holes.
Since I had some epoxy leftover I decide to try how the name I chose for the canoe would look on it. I printed the name on 1 layer of tissue paper, that I attached to normal paper (A4 size) to serve as a base. After that I cut the tissue paper away, and put it on the wood and covered with epoxy. I also tried covering some dried leaves with epoxy, and I will see how that turns out, as I have some ideas how to use that on the boat.

Closing the other half of the hull


The remaining planks had to be cut and fitted to exact lenght by hand, and this process does take some time and patience, but it is well worth it, as the reward is perfectly fitting planks with almost no gaps (which will be later filled by a mix of epoxy and fine sawdust). And I really enjoyed every minute of working with the small plane, as it is amazing how skilled you become with this tool in a couple of hours.I was very satisfied with the result, especially for a complete novice in boatbuilding. The process now was slow, as I had to fit one plank, and wait for the glue to set. I have used the waterproof white carpenters glue from Mitol , and I can really recommend it, as it is nice to work with, dries to transparent colur is non toxic, and cleans easily from your hands (I hate gloves, and they are only put on when dealing with toxic epoxy). Besides it is strong as hell, and in my personal tests even beat a poliurethane wood glue in terms of joint strenght, so really an excellent product!
The last two planks are installed at once, so first I did dry fit(using orange tape to hold the plank in place) the first of the remaining two, and then used the block plane to fit the last mahogany plank.
Then it was time for some glue, and in they went, and the hull was planked. It was time for a quick toast (home made herb liquor) with my father in law, for a job well done! Now, its time to plane all the high spots on the hull and do lots and lots of sanding.

Cutting the centerline


After the first side of the hull was all planked, it was time to mark the centerline and then cut it. That was the part that I was worried about as it looked intimidating to achieve a straight line by chisel and hand plane. But as I have learned before, when I had to cut one plank on each side that were already installed, but were to wide to fit the curve on the bilge are, it is not so terrible after all. All that is needed is some patience and very sharp plane & chisel.
So, first I have installed the string line from bow to stern, and then marked the projected centerline on planking at each station mould. After that I double checked on the moulds, and made the necessary alignments, and then drew the pencil line on the hull.
After that it was time to cut, and my father in law did that, as I took some pictures. After that I smoothed the rough cut and planed it down to the exact centerline using a chisel and small hand plane.
The only thing left to do was to glue in the centerline mahogany accent stripe, and the first side was successfully planked!

sreda, 8. december 2010

One side almost finished


The current weather supports my project, as it is either raining or snowing, so it is nice to stay in a warm workshop.
Yesterday I have visited a professional boatbuilder, Mr. Anže Logar, he also built a couple of canoes, but he mostly builds much bigger boats. He finished a professional boatbuilders school in Norway (if I remember correctly), and he really helped me with his advice and even offered to show me how to work with epoxi when the time comes-Thank you Anže!!!
He has one canoe hull, waiting for completion, and it is beautiful! You can check his work on www.lakercraft.com.He gave me some invaluable advice for choosing the right epoxi and fiberglass fabric, and it was also motivational to see a finished hull, so I stayed in the shop until the morning hours and almost completed planking on one side of the hull. It is really hard to describe the feeling of building it, but the hours just fly by in the workshop!

sreda, 1. december 2010

The sheerline planks


Today I have installed the sheerline planks on one side of the hull, to get some feeling for the final shape. And the curves on the bilge area are just....ahhh, I spend too much time in the workshop:)

torek, 30. november 2010

stripping


After the strongback was built it was time to start stripping, and that was one of the most exciting moments.In fact it was so exciting that I forgot to take photos, I just kept building it. So this is how it looks now!

Preparing the shop and setting up the strongback


After the strips were milled, it was time to prepare the workshop. That included moving the old manual press and the ruter/planner/circular saw to accomodate the strongback. But first, the strongback had to be built, and built very precisely, as any mistake at this stage would be transfered to the hull shape of the canoe. So a lot of measuring was done to make everything as close to perfection as possible. The strongback was assembled from 3 separate pieces, and then it was set on the ground and brought to level using laser . After that, the moulds were positoned at 30,48cm (12inch) intervals and it was time for striping!

ponedeljek, 8. november 2010

bead & cove


One of the most important part of the building process is the preparation of strips, especially the bead & cove part. It took me more than an hour just to set up the blades on the router to make a god bead&cove. At first there were some failed attempts, as I could not perfectly center the bead&cove, but after some ruined strips i have managed to get the blades positioned properlly. (how well I did will be seen as I start to lay the strips on the moulds)

cutting the strips & preparing them


The first task was to cut the boards into 7,5mm X 28mm strips, 4m lenght. For that I have used a circular table saw, and all the strips were the afterwards run troug the planning machine to an even thickness of 6mm. After that it was time to do the bead&cove. On Friday, I have worked with my father in law, who is a master woodworker, and we cut & planned all the strips in 8h. It was very exciting to see the wood boards transform into thin and flexible strips.
After a long day of work, there was some strips and a lot of wood shavings, which were the resoult of the boards beeing 40mm thick, and that meant that a lot of wood went into dust when preparing 28mm strips.

The build is on the way


After waiting for cedar wood to arrive, and being disapointed when it didn't, I decided to go with locally available spruce. It will add a few (kilo)grams to the final weight, but, it is much cheaper (1/3rd of the price of cedar) and readily available, plus the boat shall be a little stronger. The lenght of the boards is 4m, and they are 4cm thick, so not ideal, but that is what I will have to work with. But other than the dimensions, I am really happy with the wood, very uniform in texture and apperance.

ponedeljek, 8. februar 2010

Preparations for canoe building


Before I started with the actual process of building the wood strip canoe there were a few things that I needed to take care of:
1)go shopping for some wood (walnut, ash and mahogany, the cedar wood will be here in a few weeks)
2)make something for my wife and the kids, so that it should be easier to have them on my side (or at least not to oppose me to much). The kids were easy:) I just make them some wooden toys and tell them how nice it is going to be  when we will go on paddling trips together, and they were sold on the idea (well, my son is only 6 months old, but from the way that he bites into the toy paddle I made for him, I concluded that he likes the idea). I also made some LED wooden lamps for our hallway, and that of course didn't help with the wife (but she likes the lamps, and also the canoe, she just doesn't like the idea that I will be spending many hours in the basement workshop)
3) Buy 15mm plywood to cout the molds and make the strongback for the canoe