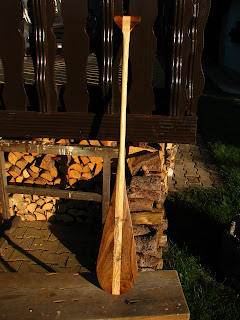
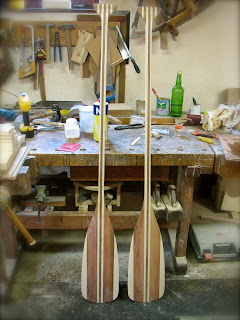


Since most of the work I did in the last days was pretty boring and not much new was created, I decided it was time to make a pair of paddles. For the paddles I used ash, mahogony and some plump wood that was ment to be burned in the fire, but I decided it was way to nice for that. The purple colors in it are simply beautyful.
Some time ago I also built a smaller paddle for my daughter, and she wanted a picture of a frog and a picture of a grey heron on it, and what a woman wants, a woman gets, even if she is only 4 years old, so I burned the images to her paddle with a simple pyrograph. For her paddle I used ash for the shaft and some walnut leftovers for the blade. The paddle was fine sanded and finished only with natural oils rubbed into it.
For this I used a great product ( "Old craftsmens oil mix"-
Rustikal, which is a mixture of linseed, tung and citrus oils) made by
Samson . It even comes in an old style aluminium can, which I really like, make s you feel like an old craftsman instantly! I have also used this product for a mahogany closet build for a friend, and it looks and smells soooo nice! They have much better products then their web site suggests, so do not hesitate to call them and ask, they are friendly! The feel in the hand of the paddle that is treated this way is amazing,you actually feel the wood and not some synthetic varnish. I have allready tried my daughters paddle on 2 occasions and the oil finish works great, it just needs a recoat once in a while (you just rub the paddle with a cotton cloth soaked with the oil, and the finish is like new).
For all the glueing I again used the
Mitol glue, which is my favorite by far, as it is exceptionally strong, easy to clean off hands, non toxic and fairly priced.
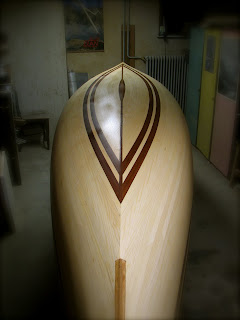
The big paddles are roughly shaped, they still need some work, but as I wetted the hull of the canoe, to swell up the compressed fibers (from the pressure during sanding) before the final fine sanding, I also had to wet both paddles, just to see the colors in them. It was hard to leave the workshop yesterday, I could stay there for hours and watch the colors of the wood!


